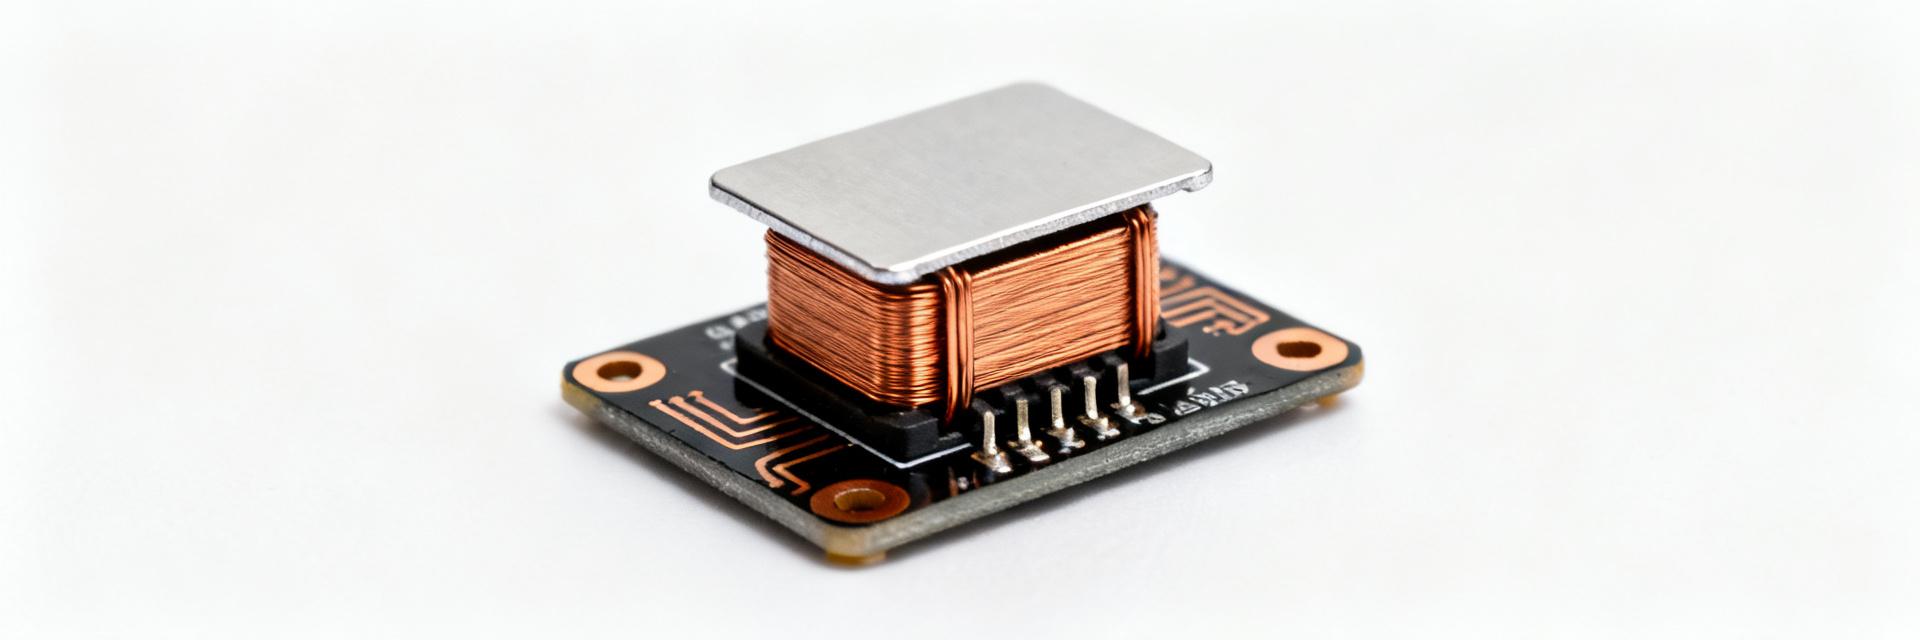
AMELH6020S-1R0MT: Latest Performance Datasheet & Stats
The AMELH6020S-1R0MT delivers a 1.0 μH inductance with a rated saturation current around 14 A and a self‑resonant frequency near 38 MHz, positioning it among compact, high‑current power inductors for modern buck converters. This article synthesizes datasheet highlights, measured performance expectations, integration guidance, competitive context and a concise selection checklist to support rapid evaluation and board‑level testing. Data and specification calls are based on the manufacturer datasheet (Abracon) and distributor listings (Mouser, DigiKey) for clarity; measured values noted below are flagged where they differ from the published specs. The scope covers electrical and thermal behavior, frequency/EMI implications, a practical test plan and decision rules for choosing the AMELH6020S-1R0MT in point‑of‑load and synchronous buck applications.
1 — Product overview & key specs (background)

Part identity & intended applications
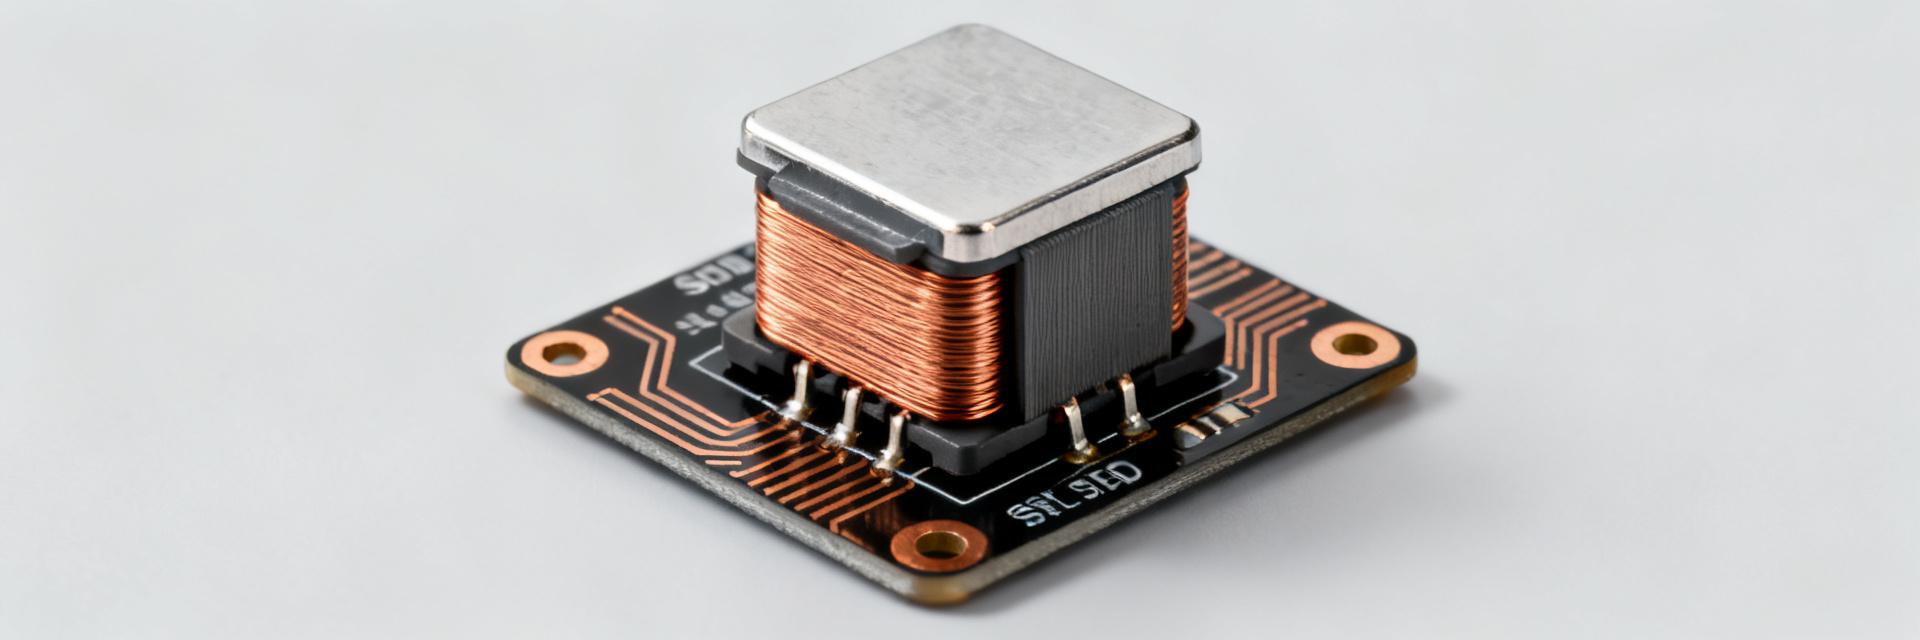
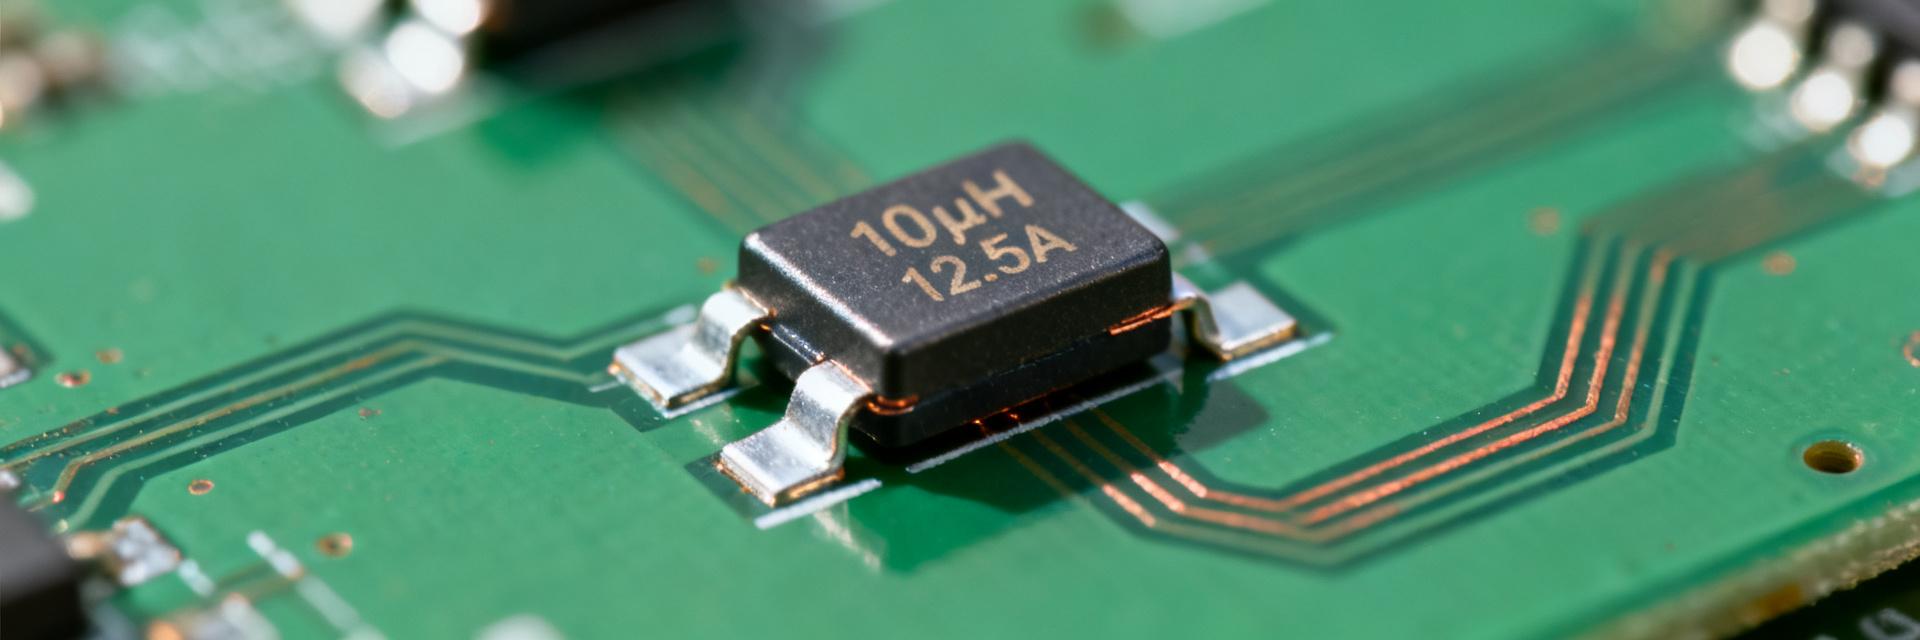
Point: The AMELH6020S-1R0MT is a flat‑wire, hot‑pressed molded power inductor in a 6020 footprint intended for high‑current DC–DC converters and point‑of‑load regulators. Evidence: The construction uses flat wire winding and a molded ferrite package optimized for low DCR and good thermal conduction. Explanation: That geometry yields lower resistance per turn and tighter coupling to a compact footprint, making the part suitable for synchronous buck converters, POL regulators and other DC–DC step‑down designs where board real‑estate and thermal performance matter. Engineers looking for the AMELH6020S-1R0MT power inductor datasheet will find the typical use cases are 1 A–20 A class regulators where transient response and low conduction loss are priorities; the part balances inductance (1.0 μH) and high Isat (~14 A) in a 6020 package commonly used in high‑density power systems.
Datasheet quick‑reference table (must-have specs)
Point: A compact spec table summarizes the key datasheet values and the typical test conditions you should verify during evaluation. Evidence: Values shown are drawn from the Abracon datasheet and distributor pages (Mouser / DigiKey); measured lab values should be recorded separately when you test samples. Explanation: Use the table below as the primary checklist when validating BOM and sim models—note typical vs. maximum tolerances, and which entries are rated vs. measured.
| Parameter | Value (typ / max) | Notes / Source |
|---|---|---|
| Inductance (L) | 1.0 μH (test @100 kHz, 0.1 Vrms) | Datasheet (Abracon) |
| Test frequency | 100 kHz | Datasheet |
| DCR (typ / max) | ~6.5 mΩ / 8.0 mΩ (example typical range) | Distributor listings / datasheet |
| Irms | Specified Irms with ΔT reference (see datasheet) | Datasheet — check Irms rating conditions |
| Isat (L drop spec) | ~14 A (defined at X% inductance drop) | Datasheet (saturation current definition) |
| SRF | ~38 MHz | Datasheet / impedance curves |
| Operating voltage | Typical for power Inductor—no high DC voltage limit (power handling focus) | Datasheet |
| Operating temp | -40°C to +125°C | Datasheet |
| Package / footprint | 6020 (mm nominal) | Datasheet |
| RoHS | Yes (Pb‑free) | Datasheet / compliance note |
Manufacturing & compliance notes
Point: The part carries standard RoHS/Pb‑free compliance and is shipped in reel packaging indicated by the suffix “-MT.” Evidence: Abracon’s product family documentation shows hot‑press flat‑wire molded inductors are supplied on reels in standard quantities; ordering codes and reel sizes are listed on distributor pages. Explanation: When specifying AMELH6020S-1R0MT, confirm the ordering code includes the “-MT” packaging suffix for reel supply and automated placement. For assembly, verify recommended reflow profile per the datasheet and confirm supplier reel sizes to match your SMT line. Secondary searches for “power inductor datasheet” and the Abracon family pages surface related inductance variants (e.g., 1.2 μH, 1.5 μH) useful for cross‑benchmarks or stocking alternate values.
2 — Electrical performance: DC metrics & thermal limits (data analysis)
DCR, IRMS, and thermal derating
Point: DCR dominates conduction loss and sets steady‑state heating; Irms ratings are provided with a ΔT reference and must be derated for ambient temperature and PCB thermal constraints. Evidence: Typical DCR figures from distributor/datasheet are in the single‑digit milliohms. Use I²R to estimate conduction loss and cross‑check with the vendor’s Irms spec which usually specifies a temperature rise (e.g., ΔT = 40°C). Explanation: Example I²R calculation: with DCR = 7 mΩ and RMS winding current Irms = 8 A, conduction loss = I²·R = 8²·0.007 = 0.448 W. For thermal derating, if the Irms rating is given at ΔT = 40°C, and your board will run at a higher ambient or with reduced copper area, scale Irms by thermal margin (for example, reduce allowable Irms by 10–30% depending on copper area and lack of heatsinking). Always measure temperature rise versus current: place a thermocouple on the package and chart ΔT vs. I to map real Irms limits on your PCB.
Saturation behavior & soft saturation explanation
Point: Saturation current (Isat ≈ 14 A) defines the onset of significant inductance drop; flat‑wire molded inductors often show soft saturation where L falls gradually rather than an abrupt collapse. Evidence: The datasheet defines Isat at a specified L drop (commonly 20–30%); the manufacturer’s L vs. I curve demonstrates the shape of the drop under DC bias. Explanation: For design, treat Isat as the transient headroom limit — steady‑state currents should remain well below Isat to avoid regulation shift. If the regulator has large transient swings, ensure peak currents including margin (e.g., 1.2–1.5× expected peaks) do not drive the inductor into a region where L declines more than the control loop can tolerate. Plotting L vs. I for your board (or using vendor curves) is recommended so you can quantify inductance loss at expected peak currents and model its effect on ripple and loop phase margin.
Thermal management & PCB layout implications
Point: PCB copper, thermal vias and placement relative to hot components are the primary levers for managing inductor temperature rise. Evidence: Measured temperature rise scales with conduction loss and the board’s thermal resistance; datasheet reflow and temperature ratings inform maximum allowable soldering and operating temps. Explanation: Recommendations: maximize top‑side copper area under and around the inductor (add thermal planes tied to vias), place the inductor close to the synchronous MOSFETs to shorten high‑di/dt loops but avoid crowding where heat from MOSFETs raises coil temperature, and include staggered thermal vias under the pad region to move heat to inner/ bottom planes. Use the recommended reflow profile and avoid multiple long, high‑temperature dwell cycles. Measurement checklist: (1) measure ΔT @ rated Irms, (2) verify ambient derating, (3) confirm solder fillet integrity post‑reflow; if temperature rise is excessive, expand copper, reduce DCR (choose lower‑resistance variant), or move to a higher‑Isat part.
3 — Frequency behavior & EMI considerations (data analysis)
Impedance and SRF (self‑resonant frequency)
Point: The SRF (~38 MHz) marks the frequency above which the part becomes capacitive and stops behaving as an ideal inductor. Evidence: Abracon impedance plots and the listed SRF indicate the inductive impedance increases with frequency until SRF, after which parasitic capacitance dominates. Explanation: For switching converters operating at typical switch frequencies (100 kHz–2 MHz), the AMELH6020S-1R0MT behaves inductively and provides expected ripple filtering. At frequencies approaching tens of MHz (switching harmonics), the impedance curve flattens and SRF becomes a limiting factor for EMI suppression. Use impedance vs. frequency plots during evaluation to identify the usable inductive band; if your design relies on high‑frequency attenuation (e.g., EMI above 10 MHz), verify the part’s impedance at those frequencies and consider supplemental common‑mode chokes or LC stages tuned above the SRF for desired attenuation.
Core losses, AC losses & efficiency impact at switching frequency
Point: Core and AC losses can be significant at high switching frequencies and must be added to copper (I²R) losses when estimating total inductor dissipation. Evidence: Manufacturer loss curves (when available) or empirical measurement allow estimation of core loss at a specific flux swing and frequency; absent curves, measure coil temperature under switching conditions to capture combined losses. Explanation: Estimation steps for loss at 500 kHz: (1) determine ripple current ΔI = (Vsw/Vin)*(1/fsw)/L or from converter operating point, (2) compute copper loss using RMS current through DCR (I²R), (3) estimate core loss from vendor curve at the corresponding flux density and frequency or conservatively add a margin (e.g., 10–30%) if vendor data is sparse. Sum core + copper losses to predict temperature rise and efficiency impact. If total inductor loss exceeds your thermal budget, choose lower DCR or lower‑loss core materials or reduce switching frequency / increase inductance to lower ripple current.
EMI & filtering tips
Point: Inductance tolerance, SRF and placement determine the effectiveness of LC filters and EMI attenuation. Evidence: Tighter tolerance and stable impedance below SRF improve predictable filter behavior; poor placement or mismatch with caps causes resonances and radiated emissions. Explanation: Practical tips: place input decoupling caps close to the VIN node and inductor, use low‑ESR ceramics for high‑frequency decoupling and electrolytics/tantalum for bulk, and coordinate capacitor ESR with inductor damping to avoid underdamped LC peaking. For EMI suppression, pair the inductor with capacitors whose self‑resonance complements the choke’s SRF so the filter presents high impedance across the problematic harmonic band. Keep high‑di/dt loops short, and orient the inductor to minimize coupling to sensitive traces. If required, add small series damping resistors or RC snubbers to tame resonance peaks identified in pre‑compliance scans.
4 — Integration guide: design examples & test plan (method/how‑to)
Typical buck converter BOM & simulation checklist
Point: The AMELH6020S-1R0MT sits between the synchronous MOSFET bridge and the output cap bank; BOM choices around MOSFETs and caps influence steady‑state and transient behavior. Evidence: Recommended companion parts are low‑Rds(on) MOSFETs for efficiency, low‑ESR MLCCs for output ripple, and robust input capacitance for switching stress. Explanation: Simulation checklist: (1) model the inductor with its measured DCR and L, (2) run transient load‑step to evaluate peak currents and loop response, (3) perform frequency‑domain loop stability (Bode) with the exact L and ESR of caps, and (4) thermal transient simulation to predict hotspot temperatures. For BOM, choose MOSFETs with headroom for the current and package thermal capability that matches your board cooling assumptions; pick output capacitors with low ESR and adequate ripple current rating to minimize ΔI stress on the inductor.
PCB test plan & measurement procedures
Point: Systematic lab tests validate datasheet claims and reveal board‑level behavior: verify L at 100 kHz, measure DCR, I²R heating, L vs I curve and temperature rise vs current. Evidence: Recommended instruments include an LCR meter (100 kHz test), Kelvin DCR meter, current source or configurable power supply, thermocouple/IR camera, and a vector network analyzer or impedance analyzer for high‑frequency plots. Explanation: Step‑by‑step: (1) measure inductance at 100 kHz and record test voltage, (2) measure DCR using a four‑wire method, (3) apply incremental DC current to map L vs I and find the practical Isat point, (4) run I²R heating test: apply rated RMS current, wait for thermal steady state, record ΔT, (5) perform switching test in a representative buck at target fsw and load steps and capture efficiency and inductor temp. Probe tips: use short Kelvin leads for DCR, keep measurement loops small for LCR meter tests, and use differential probes when measuring switching nodes to avoid ground loops.
Failure modes & troubleshooting
Point: Common failure modes include excessive saturation, overheating, solder fatigue from vibration, and loss of inductance after mechanical stress. Evidence: Symptoms: sudden efficiency drop, visible discoloration, or cracked solder fillets after thermal cycling or vibration. Explanation: Mitigations: if saturation under transient is observed, increase margin by selecting a higher‑Isat variant or larger package; if overheating occurs, expand copper area, add thermal vias, or reduce DCR; for mechanical issues, optimize pad geometry, add underfill or epoxy for shock‑sensitive assemblies, and ensure reflow profile produces solid solder fillets. Use a methodical debug flow: verify DC loss calculations, inspect board thermal design, reproduce the issue on an isolated test jig, and run accelerated thermal/vibration tests on samples before volume production.
5 — Competitive context & selection checklist (case study + action)
How AMELH6020S-1R0MT compares to similar 6020 power inductors
Point: Benchmarking metrics are DCR, Isat, SRF, footprint and price; the AMELH6020S-1R0MT aims to balance low DCR with high saturation current in a compact 6020 package. Evidence: Comparable family variants (1.2 μH, 1.5 μH, 2.2 μH) and competitor parts trade off DCR vs Isat and package size; use a short table to compare typical values. Explanation: Use the table to pick the right tradeoff for your design: lower inductance variants usually allow higher Isat or lower DCR, while larger inductance tends to increase size or DCR. When benchmarking, confirm measurement conditions (test frequency, DC bias point) are identical so that DCR and Isat comparisons are apples‑to‑apples.
| Part | L (μH) | Isat (A) | DCR (mΩ) |
|---|---|---|---|
| AMELH6020S-1R0MT | 1.0 | ~14 | ~6–8 |
| AMELH6020S-1R5MT | 1.5 | ~12–13 | ~8–10 |
| Competitor 6020 (alt) | 1.0 | ~16 (higher cost) | ~5–7 (lower DCR) |
When to choose this part vs alternatives
Point: Choose AMELH6020S-1R0MT when your design requires 1.0 μH with high Isat (~14 A) and a compact 6020 footprint. Evidence: Alternatives are preferable for ultra‑high current (select larger package or lower DCR alternatives) or when very low DCR is mandatory for sub‑percent efficiency goals. Explanation: Decision rules: pick this part if operating current plus transient margin stays comfortably below Isat and board area constraints favor the 6020 footprint; pick a lower‑DCR competitor when every milliohm matters for efficiency or choose a larger package/higher‑Isat part when continuous current exceeds the thermal capacity of this device on your PCB.
Quick selection checklist for engineers (actionable)
Point: A concise, actionable checklist speeds evaluation and reduces rework risk. Evidence: Each item maps to a measurable verification step (datasheet check, sim, lab test, thermal validation). Explanation: Follow this checklist during component selection and prototype validation to ensure the part meets electrical, thermal and EMI goals before committing to production.
- Confirm expected operating RMS current is below Irms rating with thermal margin.
- Verify Isat margin for transient peaks (recommend 20–50% headroom depending on load step).
- Check SRF > primary switching harmonics or include EMI mitigation plan.
- Model I²R + core losses at switching frequency; ensure thermal plan (copper area/ vias) supports heat dissipation.
- Order evaluation samples (AMELH6020S-1R0MT) and run the PCB test plan before volume purchase.
Summary
The AMELH6020S-1R0MT combines 1.0 μH inductance, ~14 A saturation, low DCR and a compact 6020 package—making it a strong choice for high‑current point‑of‑load converters when paired with good thermal and PCB practice. In brief: validate datasheet values on your board, model both copper and core losses at switching frequency, ensure Isat and Irms margins for transients, and follow the measurement plan to confirm temperature rise and impedance behavior under load. Next actions: download the Abracon datasheet (manufacturer), order evaluation samples, run the checklist tests above and compare against alternatives if continuous currents or lower DCR are critical.
Frequently Asked Questions
What is the AMELH6020S-1R0MT saturation current and how should I use it?
Datasheet defines saturation current (Isat) as the DC current at which inductance drops by a specified percentage (check the vendor’s definition). For AMELH6020S-1R0MT the listed Isat is roughly 14 A; in practice, allow margin so steady‑state and transient peaks do not push the inductor into a region where regulation or transient response is compromised. Use the L vs I curve to quantify expected inductance reduction at peak currents and size for 20–50% margin depending on transient severity.
How do I estimate inductor losses for efficiency calculations at 500 kHz?
Compute copper loss using measured or datasheet DCR: P_cu = I_rms² × DCR (use RMS current including ripple). Estimate core loss from manufacturer loss curves at the operating flux swing and frequency, or measure total loss on a switching test board (preferred). Sum core + copper losses to get total inductor dissipation; then use thermal measurements to confirm temperature rise. If manufacturer core loss data is absent, conservatively size with a higher margin or measure empirical losses on prototype.
What PCB layout tips reduce temperature rise for the AMELH6020S-1R0MT?
Place the inductor close to the MOSFETs to minimize loop area, but provide generous copper pour under and around the inductor to spread heat. Add thermal vias under the pad region tied to inner/bottom planes, and avoid placing heat‑generating components directly adjacent to the inductor. Use the recommended reflow profile and inspect solder fillets; if temperature rise is excessive, increase copper, add more vias, or consider a lower‑DCR variant.